17 of the best Maya Plugins and scripts for modeling in Maya. Dec ‘19.
Snappers Facial Wrinkles for Maya →
Create facial wrinkles for your 3D character in real time by manipulating guide curves
The Snappers Wrinkles Designer UI presents the user with a 2D view of the character’s face showing the unwrapped facial texture: according to Snappers, it supports any facial topology or UV layout.
Curves overlaid on it dictate the position and shape of the wrinkles.
On manipulating a guide curve, the 3D character updates in the Maya viewport in real-time, providing an interactive freeform shape editing workflow.
It looks to be an intuitive way to create wrinkles – and not entirely coincidentally, crazy fun to use.
Automatically generates sub-wrinkles and micro details
As well as generating wrinkles along the guide curves, Snappers Wrinkles Designer can interpolate between them to create an intervening series of wrinkles, or even “overlapping layers of sub-wrinkles”.
The form of each wrinkle can be modified via parameters controlling properties like width, strength, spread and noise.
The software automatically generates “sub-pixel micro details” like fine internal skin creases between wrinkles, and comes with a built-in ambient occlusion system.
Plays nicely with blendshapes and exports texture maps for use in game engines
The wrinkle system also interacts with facial expressions: the demo shows a user scrubbing between two different facial blendshapes with separate wrinkle patterns.
According to Snappers is is possible to “save templates for each facial action”.
As well as being used to set up characters for use inside Maya, the software can export the result as texture maps for use in other DCC applications and game engines.
In the comments to the YouTube video, Snappers says that it is capable of exporting wrinkle maps, blood flow maps and displacement maps.
Part of a wider set of character design tools
Although Snappers’ previous tech demos have been for in-house tools – its clients include game and VFX facilities including EA, BioWare and Mr. X – Snappers Wrinkles Designer looks set for a public release.
In the comments to the YouTube video, the firm says that it plans to release the software commercially “soon”, commenting: “We are working on it and we need your support.”
The video also hints at public releases for other tools.
The description describes Snappers Wrinkles Designer as being part of the Snappers Character Designer Suite, and the firm comments that “there will be another tool for creating … blendshapes”.
True Grit Texture Supply
Mask textures based on the height map with EasyTerrain
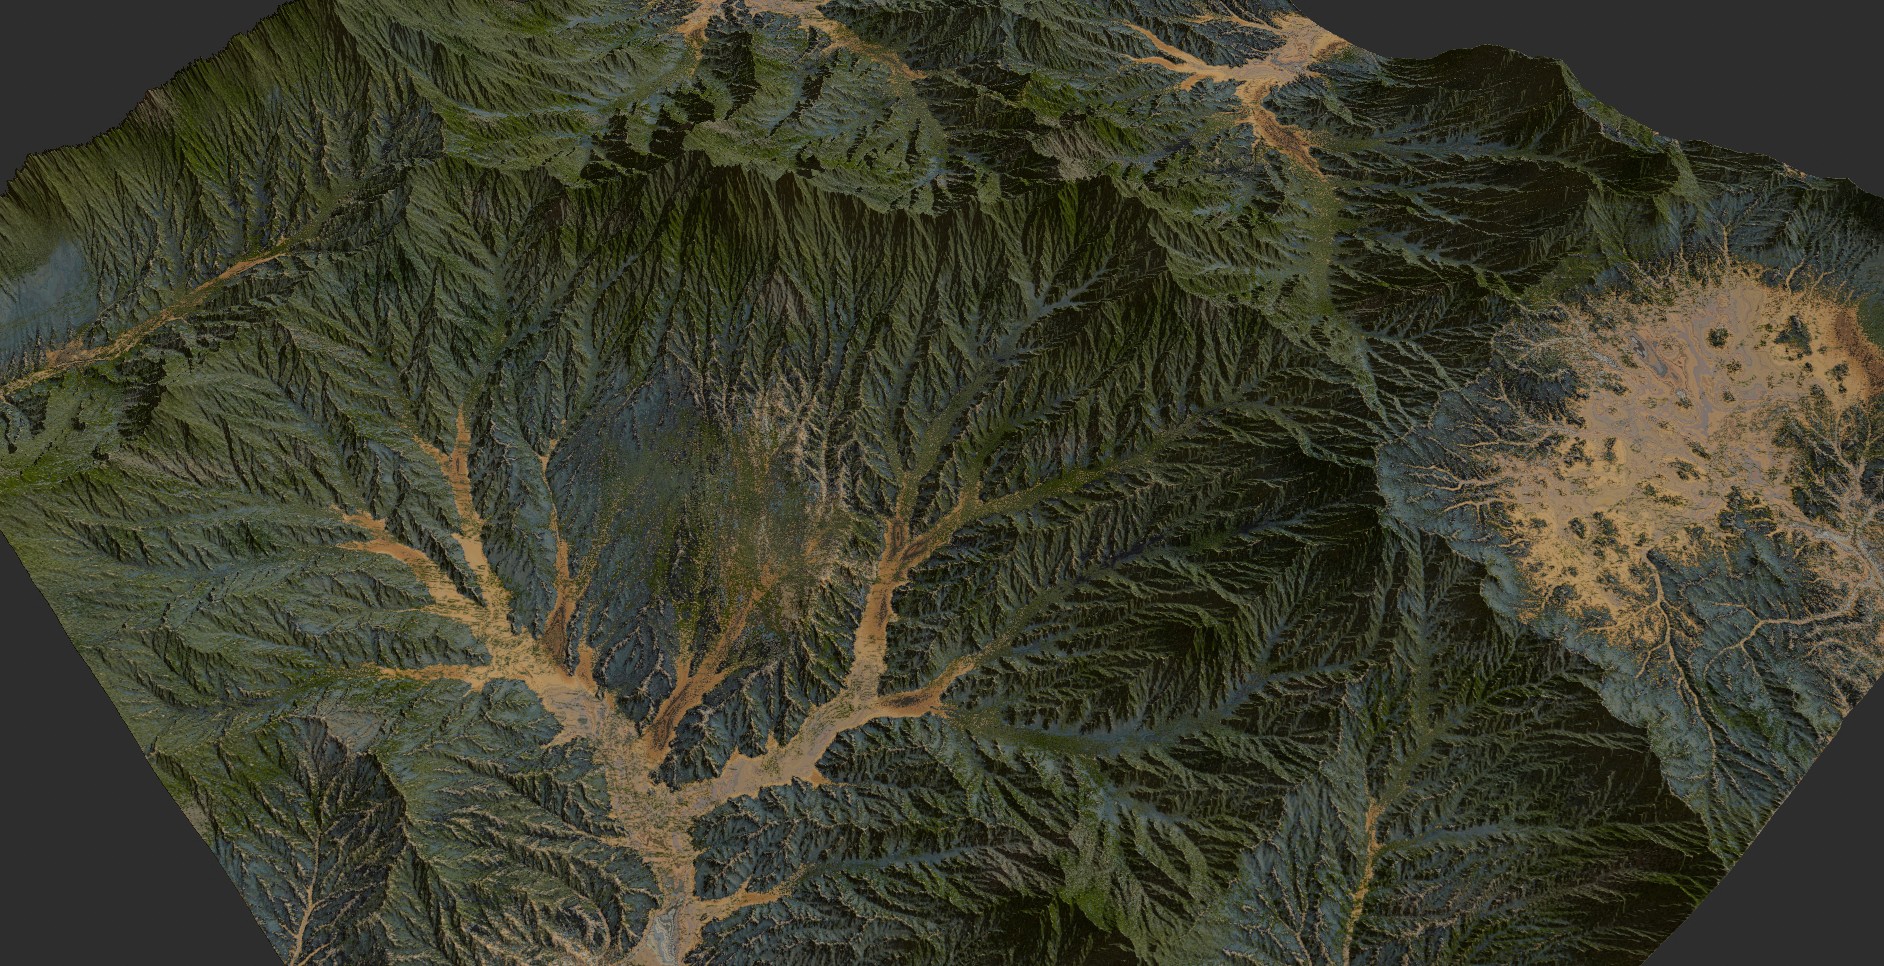
EasyTerrain is a tool for Autodesk Maya that lets you create and texture terrains quickly. The latest release EasyTerrain has some new features and modifications along with it, notably texturing tools and the ability to generate flow maps.
QuadSpinner's Gaea: Realistic Terrain Creation →
Terrain design has taken a major leap forward with Gaea. Since the official launch of Gaea earlier this year, we have released 256 feature updates in 111 days. Download for free at https://quadspinner.com/gaea/ Our latest updates include Drawable Mountains and Islands, Advanced Snow Simulation, Selective Erosion, Mesh Export, Major Node Updates, and Integration with Houdini.
How to Remove Light contribution from Substance Textures →
There are times when you want to remove all the effects of light from an image. Getting rid of the highlights and shadows in an image is essential for working with textures that will be lit by lights in 3D. The process is also an important step within a photogrammetry workflow. But how does one effectively delight textures to remove it of any indication of a light source? You can certainly do it with photoshop, but you can also do it with Substance Designer.
Djordje Ilic shares a method that he uses to delight photogrammetry textures. Djordje walks through his setup for removing shadows and highlights in an image while evening everything else out.
Substance Alchemist - Stunning Ground Tutorial →
Marvelous Designer 9.0 →
Free multi-software scene and pipeline tools management app, Tik Manager. →
“It is free -and always will be- for both personal and commercial use,” Arda says about the tool. “Tik Manager is a lightweight multi-platform and multi-software project management system.” It is designed to work for both small-mid range teams and individuals.
Tik Manager has following features / tools:
Consistent naming of scenes and versions
Version and reference controlling
Supports Maya, 3ds Max, Houdini, Nuke
Standalone version to view and launch all the scenes created with supported softwares
Alerts the user for possible problems (FPS mismatch, never/older software version etc.)
Easy and consistent animation previews with logging and playback support
User database for tracking project progress
Makes the workflow safer while preventing data loss. No accidental overwriting is possible
Image Manager (Maya only)
Checks the scene for possible errors before rendering
Resolves a consistent render path and makes tracking of rendered images easier
Supports Mental Ray, Vray, Arnold and Redshift render engines
Image Viewer
Lists rendered images (or footages) as collapsed items
Executing the sequences within the application by double clicking
Option to send the selected sequences to a remote path in a dated folder
Project Materials – A tool for organizing and viewing brief documents, concepts, artworks, references etc.
Global Asset Library – Keeps re-usable assets organized
Easy installation single CLI installer. (Windows only)
Easy to Use with no learning curve
Tik Manager is free for both personal and commercial usage.
Mesh Toolkit for Maya →
The toolkit panel lets you perform combine and separate tasks that don’t leave random leftover nodes everywhere. The tool also keeps names and parenting – So handy!
The toolkit also offers some powerful layout tools letting you place a source on a target mesh, duplicate objects easily and distribute object duplicates.
LOOKDEV KIT: Free tool for Arnold in Maya →
Quad Remesher, Auto Topo tool for Maya →
The tool is said to process source meshes composed of triangles or a mixture of polygon types (sculpts or raw scan data) and convert them to evenly spaced quads suitable for animation.
QuadRemesher automatically converts source geometry into clean all-quad meshes with a user-specified target polygon count. Also, the tool can be set to generate evenly sized quads or set quad size to vary with surface curvature. You can control quad sized manually by painting vertex colors.
The flow of edges in the new topology is said to be controlled by material boundaries, smoothing groups or surface normals.


